Switch Node
The Switch node selects one choice from a number of nodes to execute, based on the value of a given expression.
Toolbox location: Control Flow > 
See also Microsoft documentation: switch-t-activity-designer.
Operation
A switch node contains an expression and one or more cases. Each case consists of a key and node pair. The switch node evaluates the expression and compares it against each of the keys. If a match is found, the corresponding node is executed. Only one match is possible; if no match is found, the default node is executed if defined.
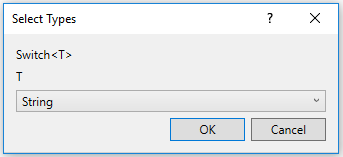
When you drop a switch node into the workflow, you select the value types you are going use for the cases; int32, string, boolean, and so on.
Properties
DisplayName: defines the friendly name of the node.
Expression: specifies the expression used to compare to the keys in the cases to determine which node to execute.
Adding a case
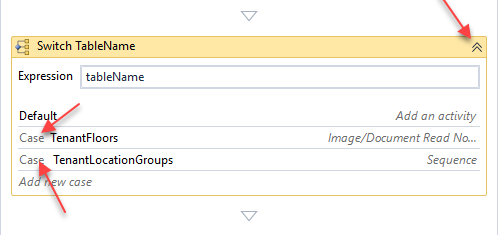
To add a case, click the Add new case button at the bottom of the switch node. The button changes to a textbox (combo box if the generic type is String or Enum). After adding a key in the Case value box, the case area expands and a node or a sequence of nodes can be dropped where the hint text "Drop activity here" is shown to define the execution logic for the case.
Views
These buttons are use to expand and collapse aspects of the switch node. You can also click Expand All / Collapse All in the top right-hand corner of the WorkflowService panel.
Example
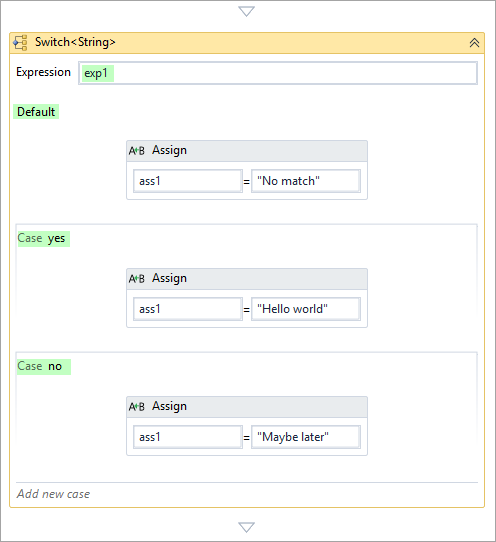
The switch node in this simple example evaluates expression exp1 and looks for a match with the two cases, yes and no. The corresponding Assign node is executed based on the match result.